1. Introduction to GLSL Shader Programming
I’ve been building my own games with my game engine for a while now.
This has allowed me to explore many aspects of game development beyond gameplay programming.
Among them, graphics programming is what I enjoy the most.
That’s why I’m writing a tutorial series on GLSL shader programming.
After the shader series, I plan to write tutorial series on Vulkan, Maya, and linear algebra as well.
1.1 What Are Shaders?
Shaders are programs that run on the GPU instead of the CPU.
They are essential to the rendering pipeline.
Without shaders, modern real-time rendering (e.g., 3D games) would not function as we know it.
If you’re a web developer, you can think of a graphics API as a browser engine, and shaders as CSS and JavaScript.
There are multiple shading languages, but the most common ones are GLSL (OpenGL Shading Language), HLSL (High-Level Shading Language), and MSL (Metal Shading Language).
GLSL has a C-like syntax, MSL has a C++-like syntax, and HLSL has a C-like syntax but includes many Microsoft-specific conventions and keywords.
What you use depends on the graphics API and platform you’re targeting.
If you’re using Metal (exclusive to macOS and iOS), you use MSL.
If you’re using DirectX (exclusive to Windows and Xbox), you use HLSL.
Interestingly, people using Unity or Unreal Engine write HLSL regardless of the target platform, but it’s automatically converted to GLSL or MSL for non-Windows platforms.
PlayStation uses PSSL (PlayStation Shading Language) for its proprietary GNM API, but since I no longer have access to PlayStation, I can’t say much about it.
If you’re using OpenGL, Vulkan, or NVN (which runs on most platforms including Linux, BSD, Windows, Nintendo Switch, Android, and Haiku), you use GLSL.
That’s why we’ll focus solely on GLSL here.
In Vulkan, SPIR-V is actually used, but it’s compiled from GLSL.
Note: This tutorial series specifically covers GLSL for OpenGL 4.5 Core (or 4.1 Core on macOS).
GLSL is used across various platforms, but the dialect may differ depending on the graphics API or platform you’re programming for.
So, if you’re adapting this for Vulkan, Android, Nintendo Switch, or Web GPU, be mindful of the differences!
1.2 Getting Started
You can follow this tutorial series from any OS, but we’ll replicate a commercial work environment.
This assumes you’re working on Windows with Visual Studio 2022 installed.
Download the starter project:
For Windows or macOS, download the ZIP file.
For BSD or Linux, download the TAR file.
On BSD and Linux, there’s a bug in the unzip utility that can corrupt non-English characters.
Therefore, it’s recommended to download the Tarball instead of the ZIP file.
For Windows users, it’s assumed you’re using Visual Studio 2022 Professional as your editor.
For macOS users, you can compile and run using command-line utilities on macOS, but it’s assumed you’re using Xcode as your editor.
For Unix users, it’s assumed you’re using Neovim as your editor.
Windows
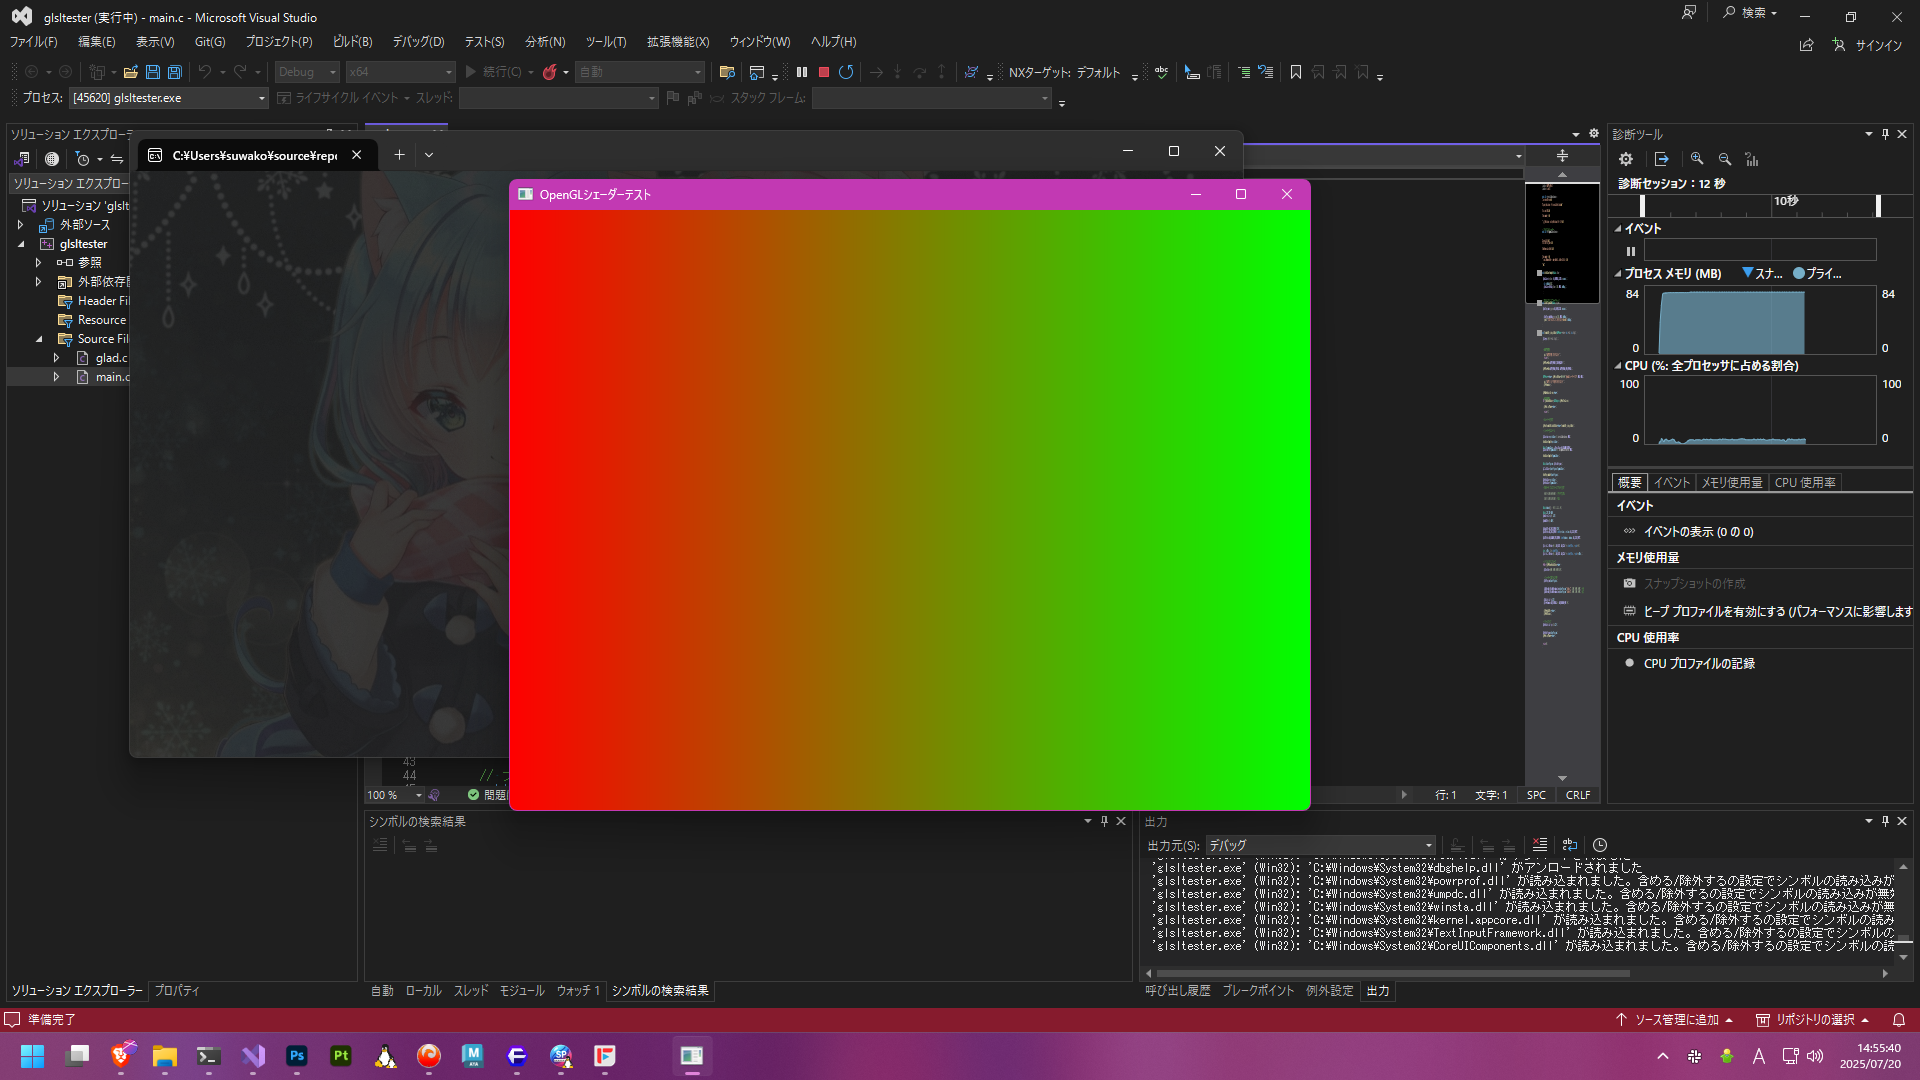
On Windows, extract the archive, run glsltester.sln, and press F5.
You should see a screen like this:
macOS
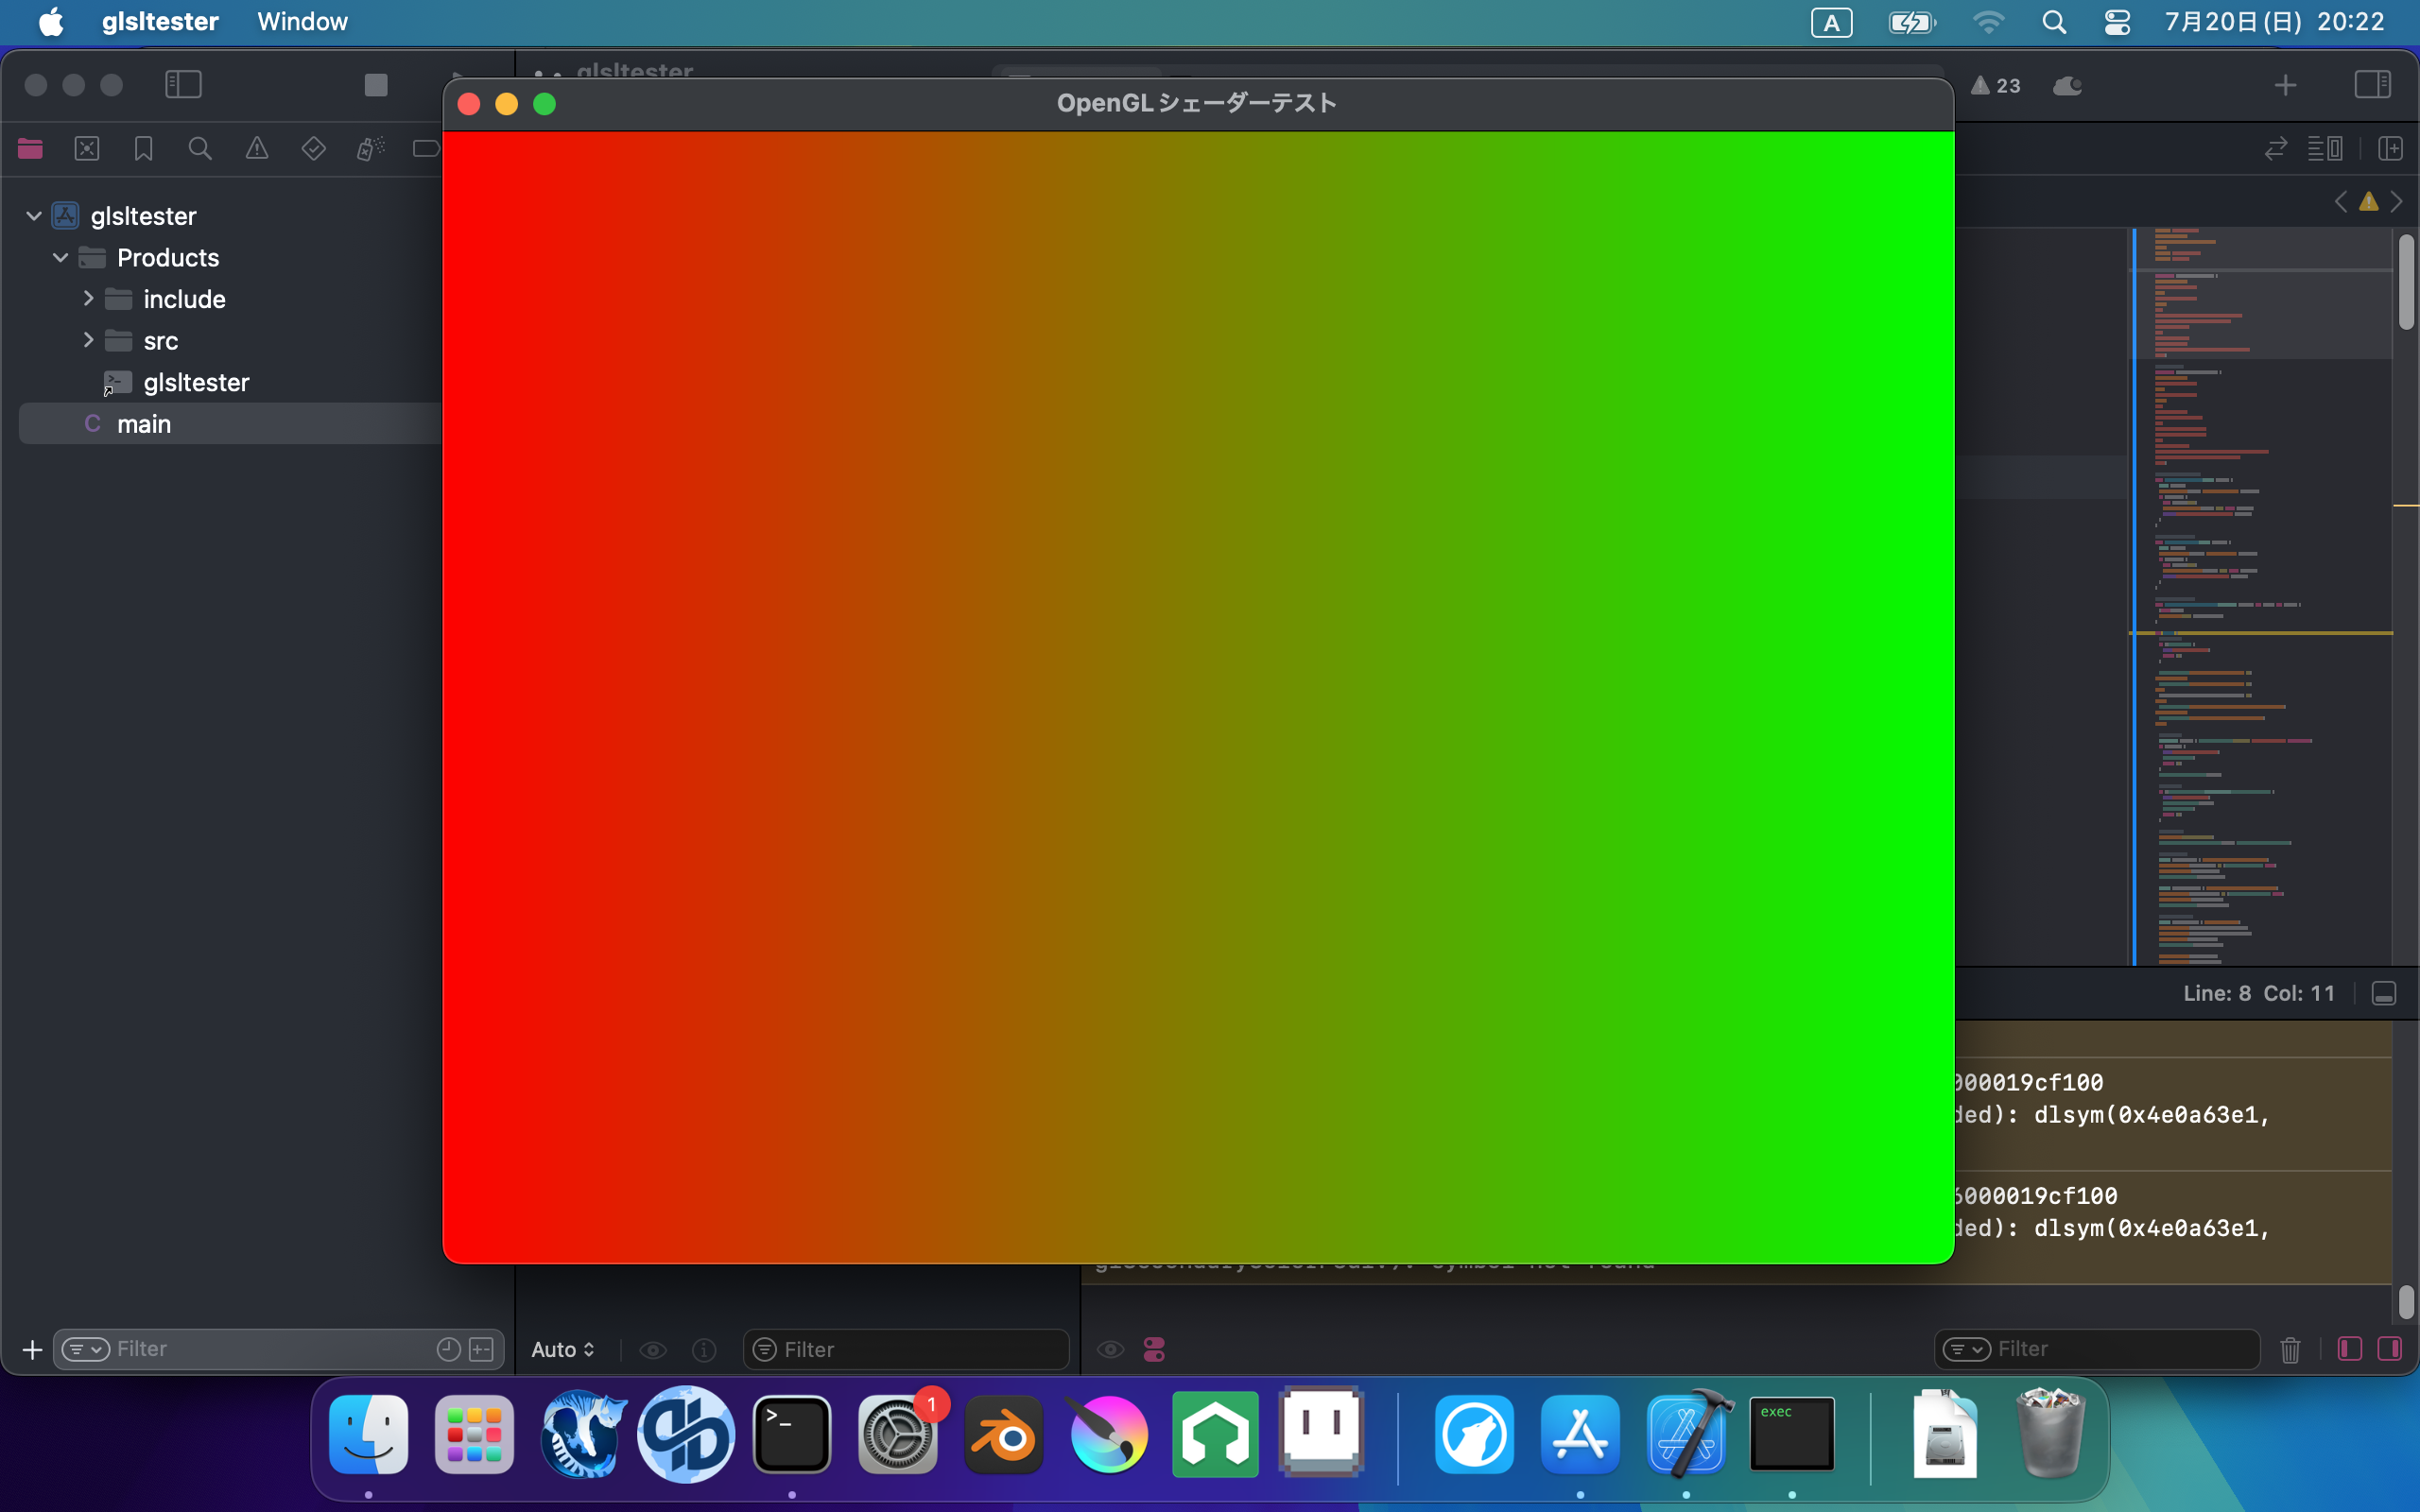
On macOS, extract the archive, run glsltester.xcodeproj, and press CMD + R.
You should see a screen like this:
Note: Apple has deprecated support for OpenGL 4.2 and above.
Therefore, the main.c file is set to OpenGL 4.1 for Mac users.
However, since this tutorial series uses GLSL 4.5 shaders, some features may be missing.
So, if you see #version 450 core in the code I provide, use #version 410 core instead.
Additionally, this was set up and tested on a 2015 Intel-based MacBook Pro, so I don’t know if it will work on ARM-based Mac models.
Unix
If you’re using Linux, FreeBSD, OpenBSD, or NetBSD, install the OpenGL drivers and GLFW from your OS’s package manager.
For FreeBSD:
pkg install glfwFor OpenBSD:
pkg_add glfwFor Devuan or Debian:
apt install libglfw3-dev libglfw3
For other distributions, figure it out on your own.
This script assumes you’re using the Clang compiler.
If you get an error saying cc is not found, edit the build.sh file and change cc to gcc.
tar zxfv glsltester.tar.gz
cd glsltester
chmod +x build.sh
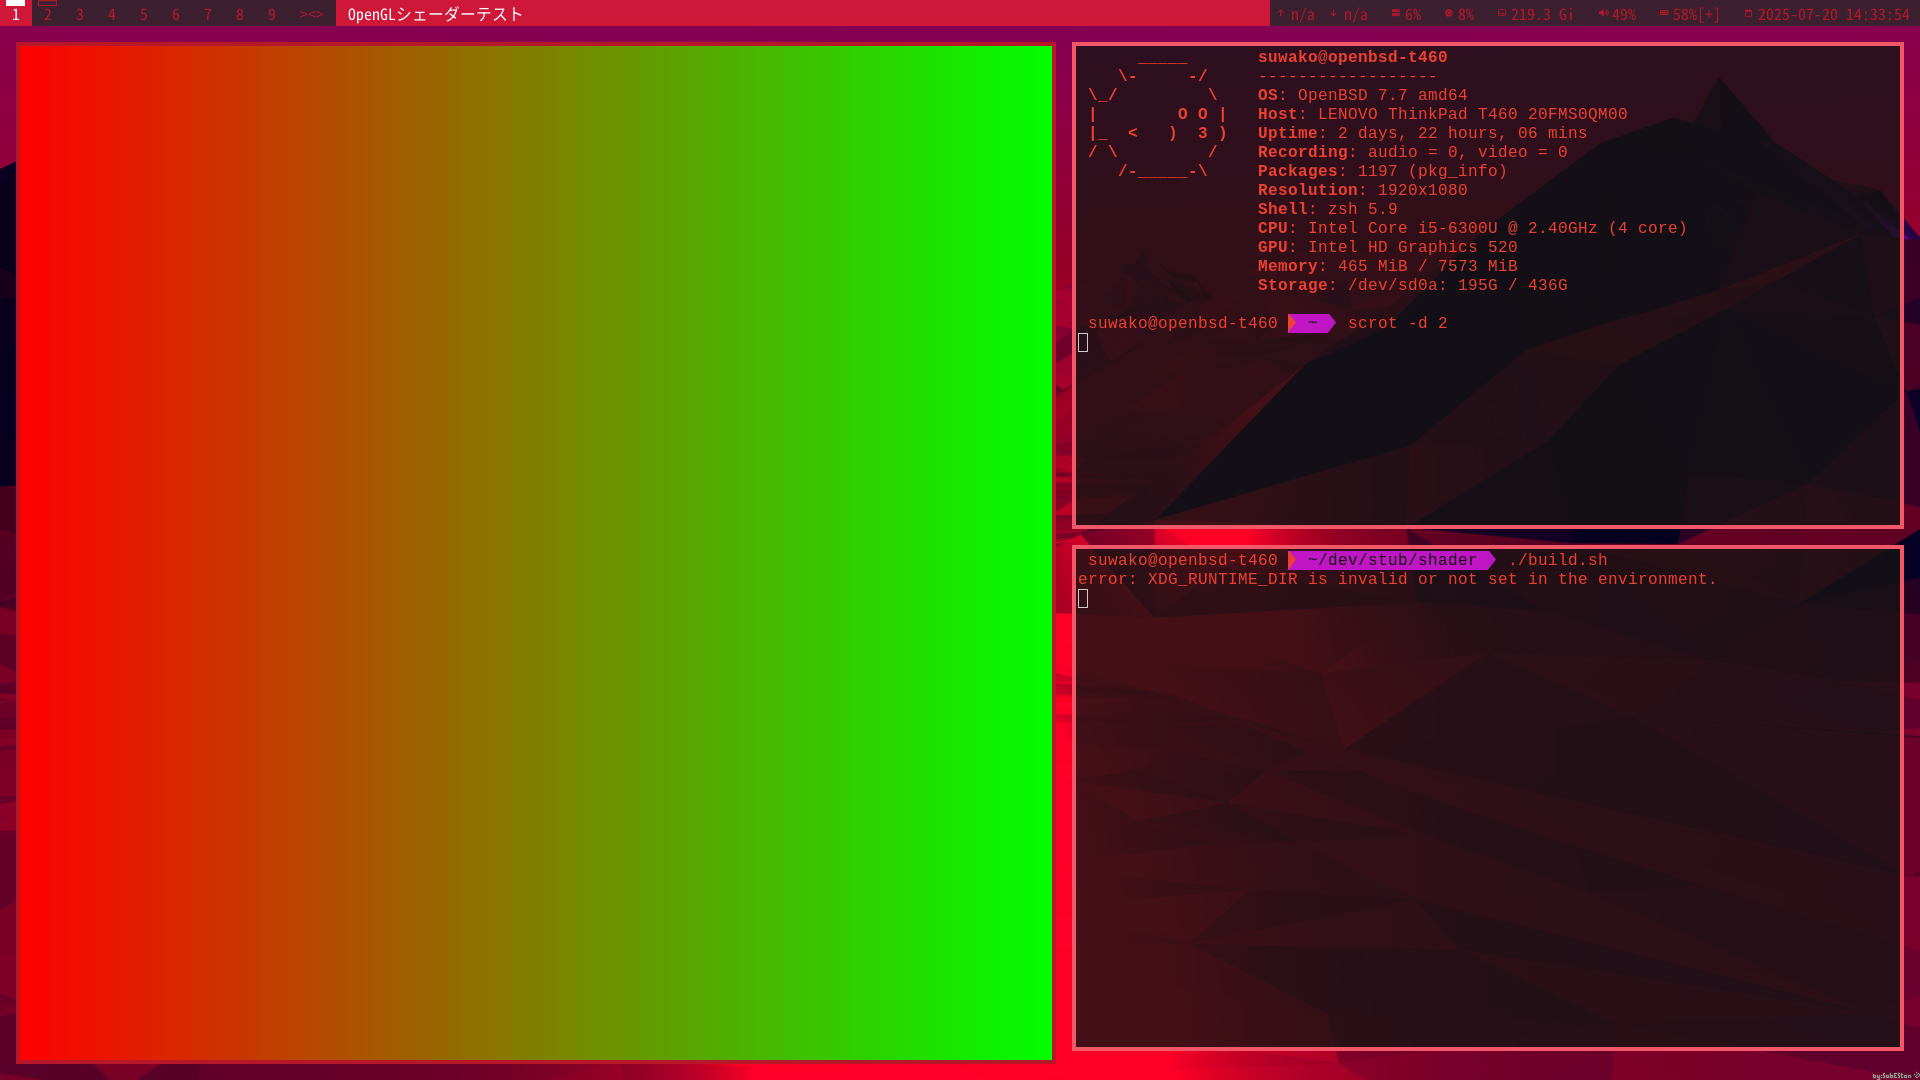
./build.sh
You should see a screen like this:
You don’t need to worry about the entire code for now.
The most important parts are the shader files and the following two lines in main.c:
    glUniform3f(glGetUniformLocation(shaderProgram, "uColorA"), 1.0f, 0.0f, 0.0f); // 赤
    glUniform3f(glGetUniformLocation(shaderProgram, "uColorB"), 0.0f, 1.0f, 0.0f); // 緑